We have been working since 2008
and provide high-quality services
5
Rating based on
reviews from our
customers
Daily from 8:00 to 20:00
We have been working since 2008
and provide high-quality services
5
Rating based on
reviews from our
customers
Daily from 8:00 to 20:00

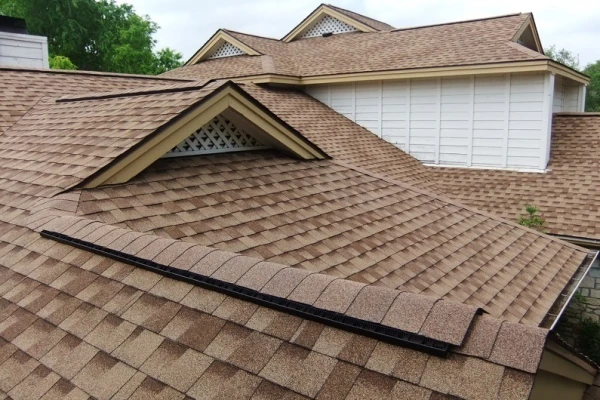
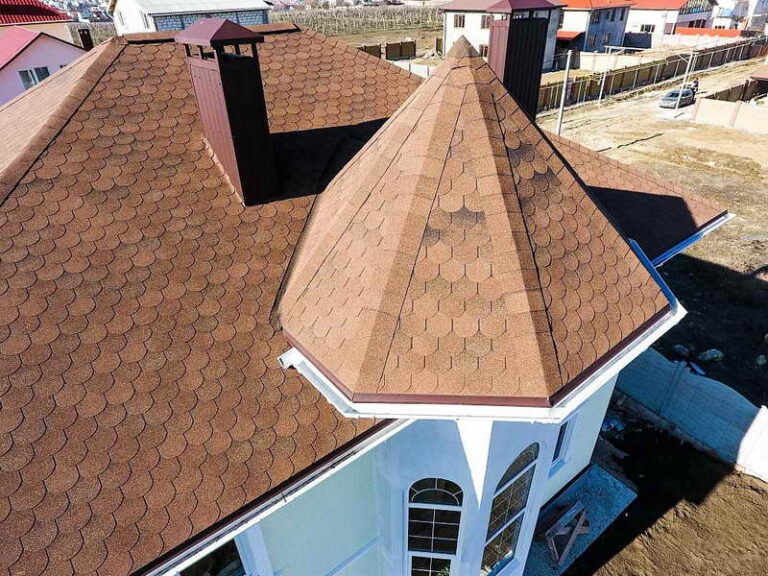
Bituminous shingles are an extremely popular roofing material with many advantages. The most important is the versatility of use, due to the relatively low price. Installation of bituminous roofing is not particularly difficult, while such products are used on the most complex roofs. Modern production offers many product options, including those under the SHINGLAS brand.
Correct installation of the base material implies some features of the choice. In this case, the basic characteristics are necessarily taken into account:
Before laying soft tiles, it is important to correctly calculate the amount of material and determine the climatic features of the region where it will be used.
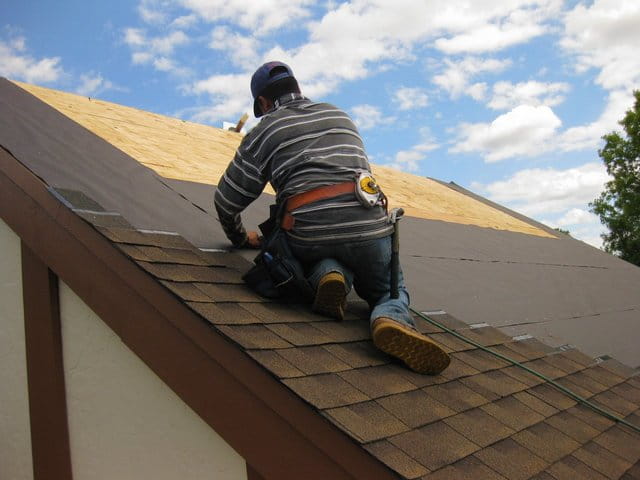
Any type of this roofing material requires mandatory compliance with the manufacturer's recommendations. For example, step-by-step installation of shingles includes the following stages:
1. Preparing the base
It should be rigid, even and firmly fixed. At this stage, it is important to pay attention to sealing and ventilation. Air holes are placed at the bottom of the roof, and for exhaust – at the top. After this, the lathing for the bituminous shingles is formed.
2. Laying the underlayment
It is necessarily installed on the cornices, plumb lines, in the end part and in the segment of the future ridge. With a roof slope in the 163 format, such layered installation with valleys and ridges is necessary over the entire surface of the roof. The material is laid in the direction from bottom to top, parallel or perpendicular.
3. Installation of valleys, cornices and end elements
The eaves and end strips are installed with an overlap of 50 mm, ensuring a secure connection using nails. The edges of the valley "carpet" are attached to the underlayment using glue over the eaves strips.
4. Laying bituminous shingles
Laying of elements starts from the center of the eaves plumb line towards the end parts of the roof. The lower edge should be 4-5 cm higher than the lower edge of the row of tiles. Installation rules provide for the removal of the protective film with immediate fixation and fastening with nails.
The final stage of laying shingles is the installation of roof penetrations and a ridge. The attached installation instructions will allow you to carry out all stages in the correct sequence.
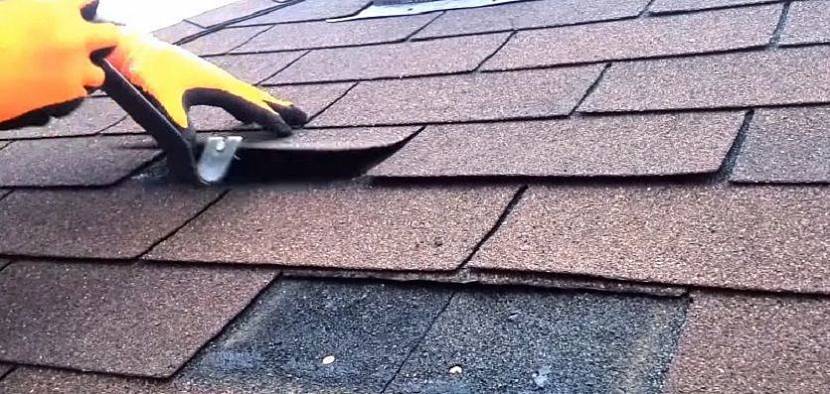
In order for the finished roof to last as long as possible, it is necessary to take into account the features of flexible tiles - their installation if the technology is not followed can lead to unpleasant consequences. As a rule, the main mistakes are as follows:
Do-it-yourself installation without proper experience can lead to damage to the material and a reduction in the service life of the roof. Therefore, in order to avoid all problems, installation work on soft tiles should be entrusted to the professionals of RSK "Alba".